Adding Custom Providers: Step by Step Tutorial to add Custom Providers

In this post we will be going through a step by step tutorial on how to develop, and add custom providers to Uppy and Companion. For the purpose of this tutorial we will be building a custom provider for Unsplash.
What are Provider Plugins?
Provider Plugins help you connect to your accounts with remote file storage providers such as Dropbox, Google Drive, Instagram and remote URLs.
They work tightly with Companion — Uppy's server-to-server communication handler between your server and file storage providers.
Creating a custom provider composes of two parts; Custom Companion Provider and Custom Uppy Plugin
Creating a Custom Companion Provider
On the Companion side, we need to create a Provider that receives the provider related requests that would come from Uppy.
Setting up Companion
We'll start off by setting up a minimal express server.
- Create a folder named "custom-provider" and navigate into it
mkdir custom-provider
cd custom-provider
- Run
npm initto setup yourpackage.jsonfile - install express, express-session, body-parser, request, uppy and @uppy/companion
npm i -S express express-session body-parser request @uppy/companion uppy
with all that done, my package.json file looks something like this:
{
	"name": "custom-provider",
	"dependencies": {
		"body-parser": "^1.18.2",
		"express": "^4.16.2",
		"express-session": "^1.15.6",
		"request": "^2.88.0",
		"uppy": "^1.16.1",
		"@uppy/companion": "^2.0.0"
	},
	"private": true,
	"scripts": {}
}
- Create a
server/index.jsfile within the project and add initiate your express server
const express = require('express');
const companion = require('@uppy/companion');
const bodyParser = require('body-parser');
const session = require('express-session');

const app = express();

app.use(bodyParser.json());
app.use(
	session({
		secret: 'some-secret',
		resave: true,
		saveUninitialized: true,
	}),
);

app.use((req, res, next) => {
	res.setHeader('Access-Control-Allow-Origin', req.headers.origin || '*');
	res.setHeader(
		'Access-Control-Allow-Methods',
		'GET, POST, OPTIONS, PUT, PATCH, DELETE',
	);
	res.setHeader(
		'Access-Control-Allow-Headers',
		'Authorization, Origin, Content-Type, Accept',
	);
	next();
});

// initialize uppy
const companionOptions = {
	providerOptions: {
		dropbox: {
			key: 'your Dropbox key',
			secret: 'your Dropbox secret',
		},
	},
	server: {
		host: 'localhost:3020',
		protocol: 'http',
	},
	filePath: './output',
	secret: 'some-secret',
	debug: true,
};

app.use(companion.app(companionOptions));

// handle 404
app.use((req, res, next) => {
	return res.status(404).json({ message: 'Not Found' });
});

companion.socket(app.listen(3020));

console.log('Welcome to Companion!');
console.log(`Listening on http://0.0.0.0:3020`);
The code snippet above sets up an express server and plugs Companion into it. However, the Companion setup doesn't include a custom provider yet. It only includes the Dropbox provider.
To be sure everything is working correctly so far, you can start the server by running:
node server/index.js
It should log the following message in the console:
Welcome to Companion!
Listening on http://0.0.0.0:3020
Now we need to proceed to add our custom provider.
Setting up Unsplash API
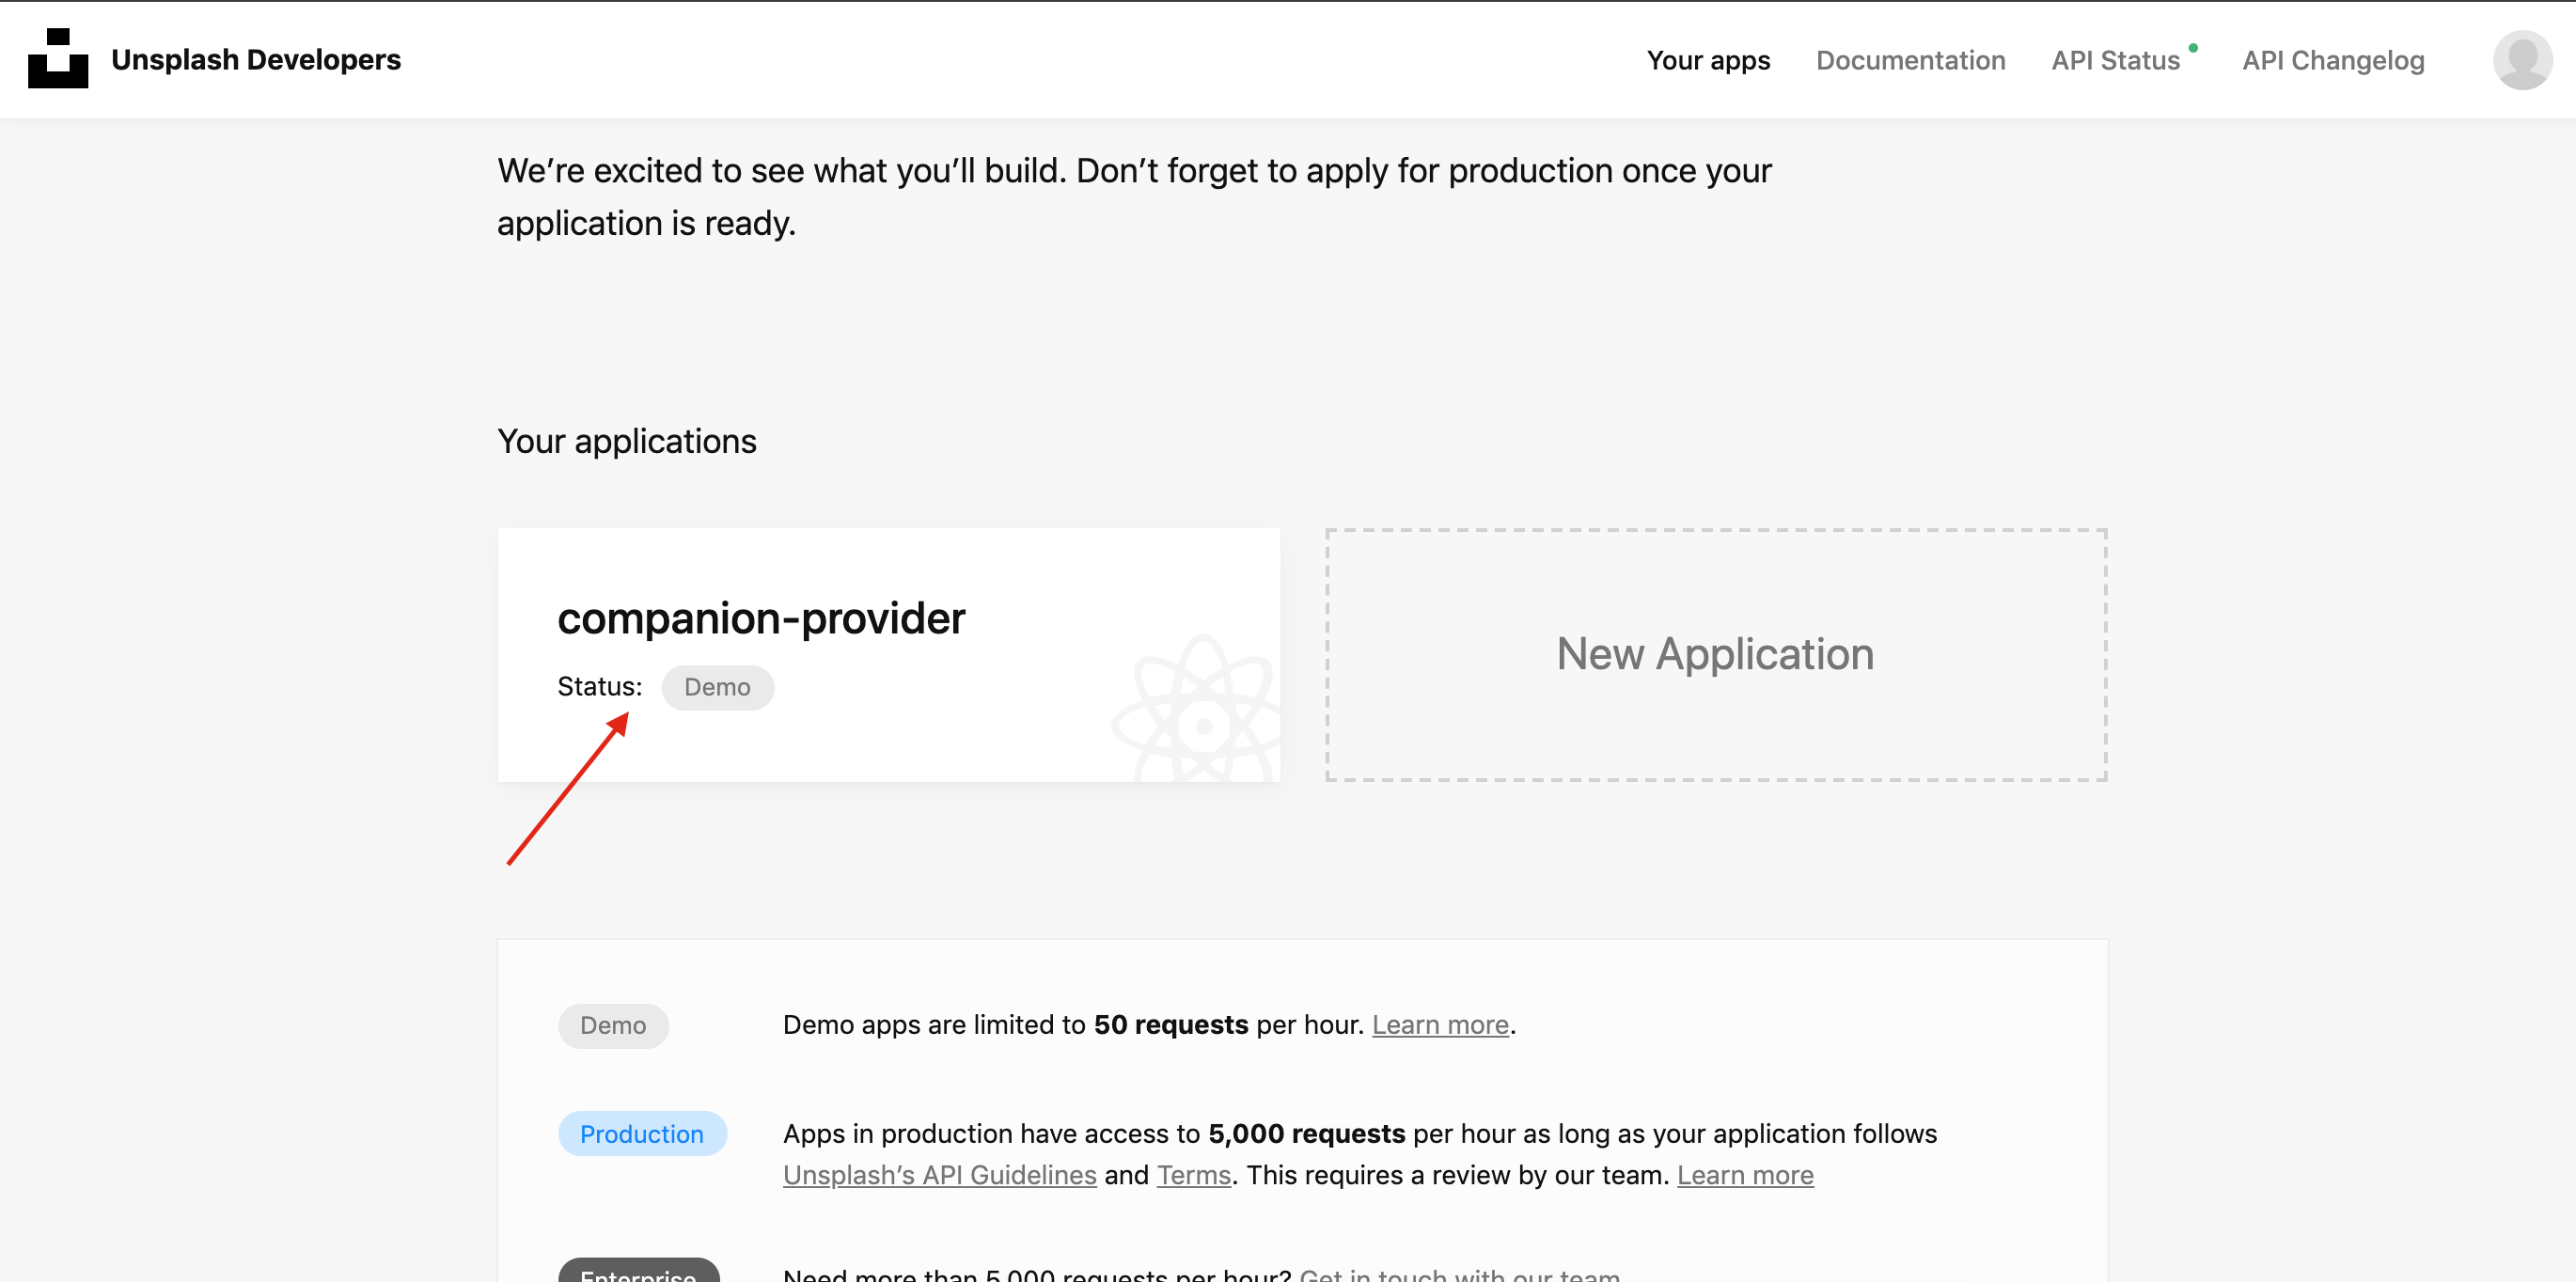
Head to Unsplash's developer platform (you'd need to create an account if you don't already have one).
Click "New Application" to create a new application. For the sake of this tutorial, I am naming my application "companion-provider". Once it is created, your page should look something like this:
Writing the custom provider
Back to our project directory, we are going to create a
server/customprovider.js file. This will contain the code that implements the
Unsplash provider.
According to
the docs, we need
to create a class that implements the methods list, download, and size.
The constructor of our class will look something like this:
class MyCustomProvider {
	static authProvider = 'google'; // the name of the OAuth provider to use (lowercased)
	// ...
}
Our list method would look something like this
list ({ token, directory }, done) {
  const path = directory ? `/${directory}/photos` : ''
  const options = {
    url: `${BASE_URL}/collections${path}`,
    method: 'GET',
    json: true,
    headers: {
      Authorization: `Bearer ${token}`
    }
  }

  request(options, (err, resp, body) => {
    if (err) {
      console.log(err)
      done(err)
      return
    }

    done(null, this._adaptData(body))
  })
}

_adaptData (res) {
  const data = {
    username: null,
    items: [],
    nextPagePath: null
  }

  const items = res
  items.forEach((item) => {
    const isFolder = !!item.published_at
    data.items.push({
      isFolder: isFolder,
      icon: isFolder ? item.cover_photo.urls.thumb : item.urls.thumb,
      name: item.title || item.description,
      mimeType: isFolder ? null : 'image/jpeg',
      id: item.id,
      thumbnail: isFolder ? item.cover_photo.urls.thumb : item.urls.thumb,
      requestPath: item.id,
      modifiedDate: item.updated_at,
      size: null
    })
  })

  return data
}
the method makes an http request to the unsplash API based on the documentation
to list collections and
list collection's photos.
The _adaptData method exists to help us conform to
the list data
Our size method will look something like this:
size ({ id, token }, done) {
  const options = {
    url: `${BASE_URL}/photos/${id}`,
    method: 'GET',
    json: true,
    headers: {
      Authorization: `Bearer ${token}`
    }
  }

  request(options, (err, resp, body) => {
    if (err) {
      console.log(err)
      done(err)
      return
    }

    done(null, body.width * body.height)
  })
}
Unsplash's API doesn't provide the file size, so we are estimating it by multiplying the width and height of the image.
The download method will look like this:
download ({ id, token }, onData) {
  const options = {
    url: `${BASE_URL}/photos/${id}`,
    method: 'GET',
    json: true,
    headers: {
      Authorization: `Bearer ${token}`
    }
  }

  request(options, (err, resp, body) => {
    if (err) {
      console.log(err)
      return
    }

    const url = body.links.download
    request.get(url)
      .on('data', (chunk) => onData(null, chunk))
      .on('end', () => onData(null, null))
      .on('error', (err) => console.log(err))
  })
}
With all of this put together the entire file would look something like this:
const request = require('request');

const BASE_URL = 'https://api.unsplash.com';

class MyCustomProvider {
	static authProvider = 'unsplash'; // the name of the OAuth provider to use (lowercased)

	list({ token, directory }, done) {
		const path = directory ? `/${directory}/photos` : '';
		const options = {
			url: `${BASE_URL}/collections${path}`,
			method: 'GET',
			json: true,
			headers: {
				Authorization: `Bearer ${token}`,
			},
		};

		request(options, (err, resp, body) => {
			if (err) {
				console.log(err);
				done(err);
				return;
			}

			done(null, this._adaptData(body));
		});
	}

	download({ id, token }, onData) {
		const options = {
			url: `${BASE_URL}/photos/${id}`,
			method: 'GET',
			json: true,
			headers: {
				Authorization: `Bearer ${token}`,
			},
		};

		request(options, (err, resp, body) => {
			if (err) {
				console.log(err);
				return;
			}

			const url = body.links.download;
			request
				.get(url)
				.on('data', (chunk) => onData(null, chunk))
				.on('end', () => onData(null, null))
				.on('error', (err) => console.log(err));
		});
	}

	size({ id, token }, done) {
		const options = {
			url: `${BASE_URL}/photos/${id}`,
			method: 'GET',
			json: true,
			headers: {
				Authorization: `Bearer ${token}`,
			},
		};

		request(options, (err, resp, body) => {
			if (err) {
				console.log(err);
				done(err);
				return;
			}

			done(null, body.width * body.height);
		});
	}

	_adaptData(res) {
		const data = {
			username: null,
			items: [],
			nextPagePath: null,
		};

		const items = res;
		items.forEach((item) => {
			const isFolder = !!item.published_at;
			data.items.push({
				isFolder,
				icon: isFolder ? item.cover_photo.urls.thumb : item.urls.thumb,
				name: item.title || item.description,
				mimeType: isFolder ? null : 'image/jpeg',
				id: item.id,
				thumbnail: isFolder ? item.cover_photo.urls.thumb : item.urls.thumb,
				requestPath: item.id,
				modifiedDate: item.updated_at,
				size: null,
			});
		});

		return data;
	}
}

module.exports = MyCustomProvider;
Now we can go back to server/index.js to enable our custom provider:
// initialize uppy
const uppyOptions = {
	providerOptions: {
		dropbox: {
			key: 'your Dropbox key',
			secret: 'your Dropbox secret',
		},
	},
	customProviders: {
		myunsplash: {
			config: {
				// source https://unsplash.com/documentation#user-authentication
				authorize_url: 'https://unsplash.com/oauth/authorize',
				access_url: 'https://unsplash.com/oauth/token',
				oauth: 2,
				key: 'YOUR UNSPLASH API KEY',
				secret: 'YOUR UNSPLASH API SECRET',
			},
			// you provider module
			module: require('./customprovider'),
		},
	},
	server: {
		host: 'localhost:3020',
		protocol: 'http',
	},
	filePath: './output',
	secret: 'some-secret',
	debug: true,
};
You can find your unsplash API key on your Unsplash app dashboard
Creating a Custom Uppy Plugin
Now we need to implement the client part of this. To do this we need to implement an Uppy Plugin.
First, we'll create a client/MyCustomProvider.js file. Following the
instructions here, our Uppy
Plugin (aka client/MyCustomProvider.js file) could look something like this:
const { UIPlugin } = require('@uppy/core');
const { Provider } = require('@uppy/companion-client');
const { ProviderViews } = require('@uppy/provider-views');
const { h } = require('preact');

module.exports = class MyCustomProvider extends UIPlugin {
	constructor(uppy, opts) {
		super(uppy, opts);
		this.type = 'acquirer';
		this.id = this.opts.id || 'MyCustomProvider';
		Provider.initPlugin(this, opts);

		this.title = 'MyUnsplash';
		this.icon = () => (
			<svg width="32" height="32" xmlns="http://www.w3.org/2000/svg">
				<path
					d="M10 9V0h12v9H10zm12 5h10v18H0V14h10v9h12v-9z"
					fill="#000000"
					fill-rule="nonzero"
				/>
			</svg>
		);

		this.provider = new Provider(uppy, {
			companionUrl: this.opts.companionUrl,
			companionHeaders: this.opts.companionHeaders,
			provider: 'myunsplash',
			pluginId: this.id,
		});

		this.files = [];
		this.onFirstRender = this.onFirstRender.bind(this);
		this.render = this.render.bind(this);

		// merge default options with the ones set by user
		this.opts = { ...opts };
	}

	install() {
		this.view = new ProviderViews(this, {
			provider: this.provider,
		});

		const { target } = this.opts;
		if (target) {
			this.mount(target, this);
		}
	}

	uninstall() {
		this.view.tearDown();
		this.unmount();
	}

	onFirstRender() {
		return this.view.getFolder();
	}

	render(state) {
		return this.view.render(state);
	}
};
Asides from implementing the methods required by the Uppy Plugin, we are also
implmeneting the method onFirstRender. This is because we are using the
@uppy/provider-views
package to reuse its UI componenets. The
@uppy/provider-views
package requires that our plugin implements an onFirstRender method.
We are also pre-setting a default plugin with a default object structure which
is used by the @uppy/provider-views package.
With that done, we can now use our new plugin with Uppy. Create a file
client/main.js and initiate Uppy in there like so:
const Uppy = require('@uppy/core');
const Dropbox = require('@uppy/dropbox');
const Tus = require('@uppy/tus');
const Dashboard = require('@uppy/dashboard');
const MyCustomProvider = require('./MyCustomProvider');

const uppy = Uppy({
	debug: true,
});

uppy.use(Dropbox, {
	companionUrl: 'http://localhost:3020',
});

uppy.use(MyCustomProvider, {
	companionUrl: 'http://localhost:3020',
});

uppy.use(Dashboard, {
	inline: true,
	target: 'body',
	plugins: ['Dropbox', 'MyCustomProvider'],
});

uppy.use(Tus, { endpoint: 'https://master.tus.io/files/' });
Now we need to bundle the file so it can be loaded on the browser. To do this, we'd install budo:
- In the root project directory, run
npm install budo -g. - Create a
babel.config.jsfile looking like so:
module.exports = (api) => {
	api.env('test');
	return {
		presets: [
			[
				'@babel/preset-env',
				{
					modules: false,
					loose: true,
				},
			],
		],
		plugins: [['@babel/plugin-transform-react-jsx', { pragma: 'h' }]].filter(
			Boolean,
		),
	};
};
- Add an
index.htmlfile (in the root of the project) that uses a bundle file like so:
<!doctype html>
<html>
	<head>
		<meta charset="utf-8" />
		<meta name="viewport" content="width=device-width, initial-scale=1" />
		<title>Uppy Custom provider Example</title>
		<link
			href="https://releases.transloadit.com/uppy/v1.15.0/uppy.min.css"
			rel="stylesheet"
		/>
	</head>
	<body>
		<script src="bundle.js"></script>
	</body>
</html>
- Create the bundle file by running
budo client/main.js:bundle.js -- -t babelify. This will bundle yourclientside work and have it running on a local server. Please check the console log to see on what port the server is running. As at the time of this writing, it defaults to9966(URL will be http://localhost:9966/).
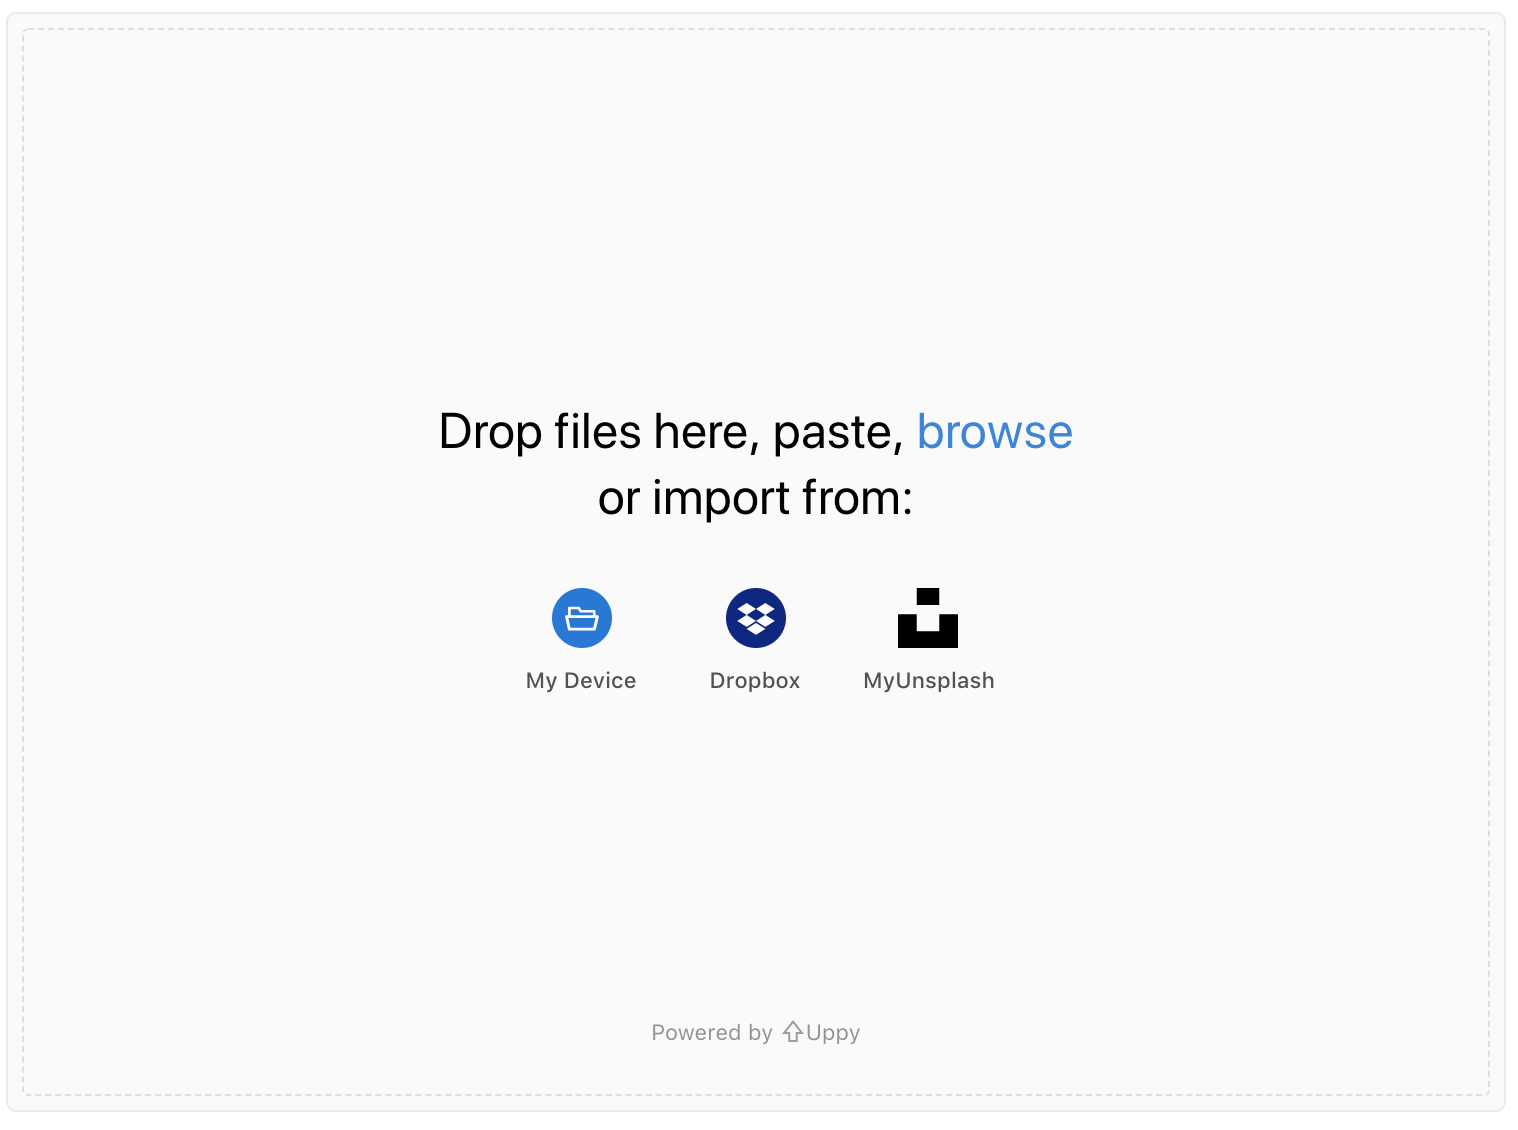
You can now load the URL of your client on your browser to see it running. When I run mine, it looks something like this:
In order to use this with our Companion implementation, we need to also start
our Companion server by running node server/index.js.
Congrats! 🎉We have completed our custom plugin at this point. For an example source code on this tutorial, please see the custom provider example.