Uppy 0.24: Refreshed Dashboard, StatusBar and Provider UI, revamped XHR Response Handling

Uppy 0.24.2 brings a refreshed UI in the Dashboard and StatusBar plugins, a
synchronous addFile() method, a cancel button, style protections,
documentation on writing your own Uppy plugin, revamped XHR response handling
and tons of bugfixes.
Refreshed Dashboard and Providers
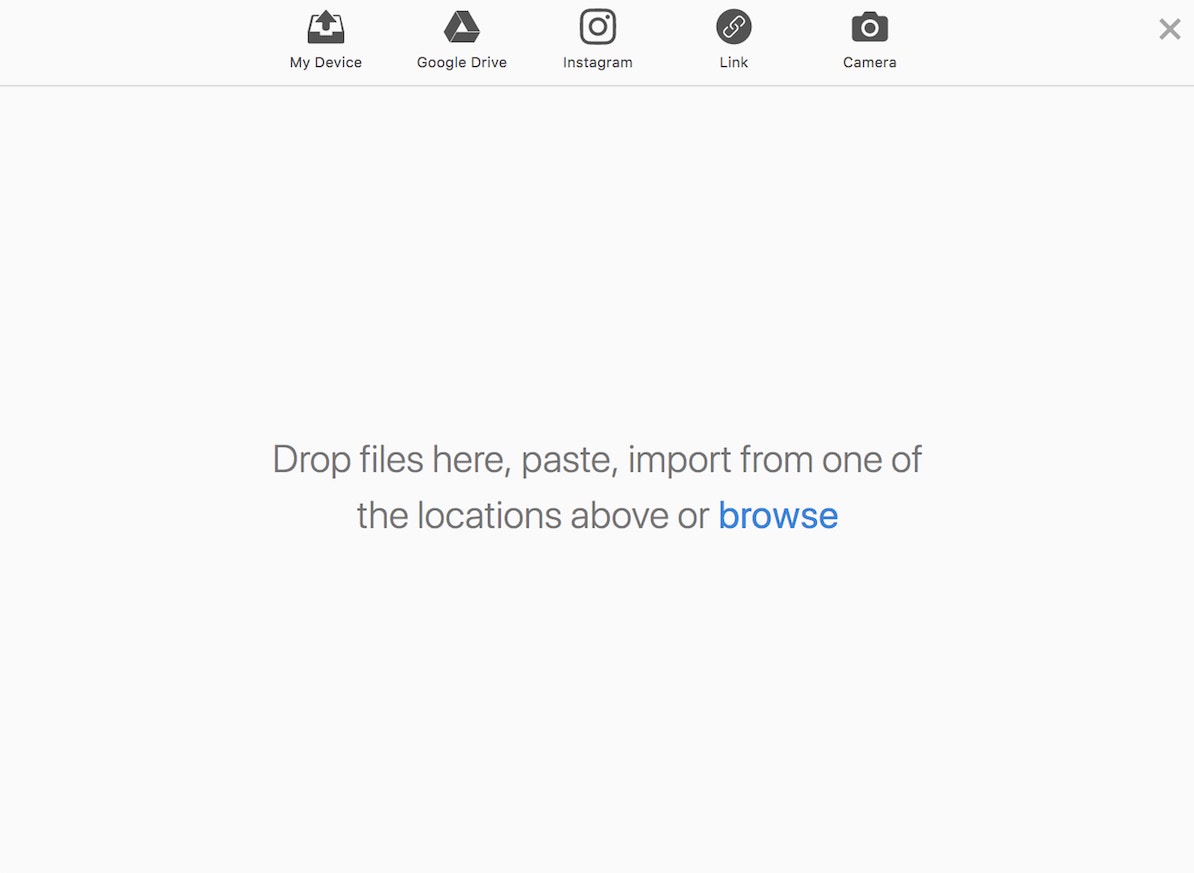
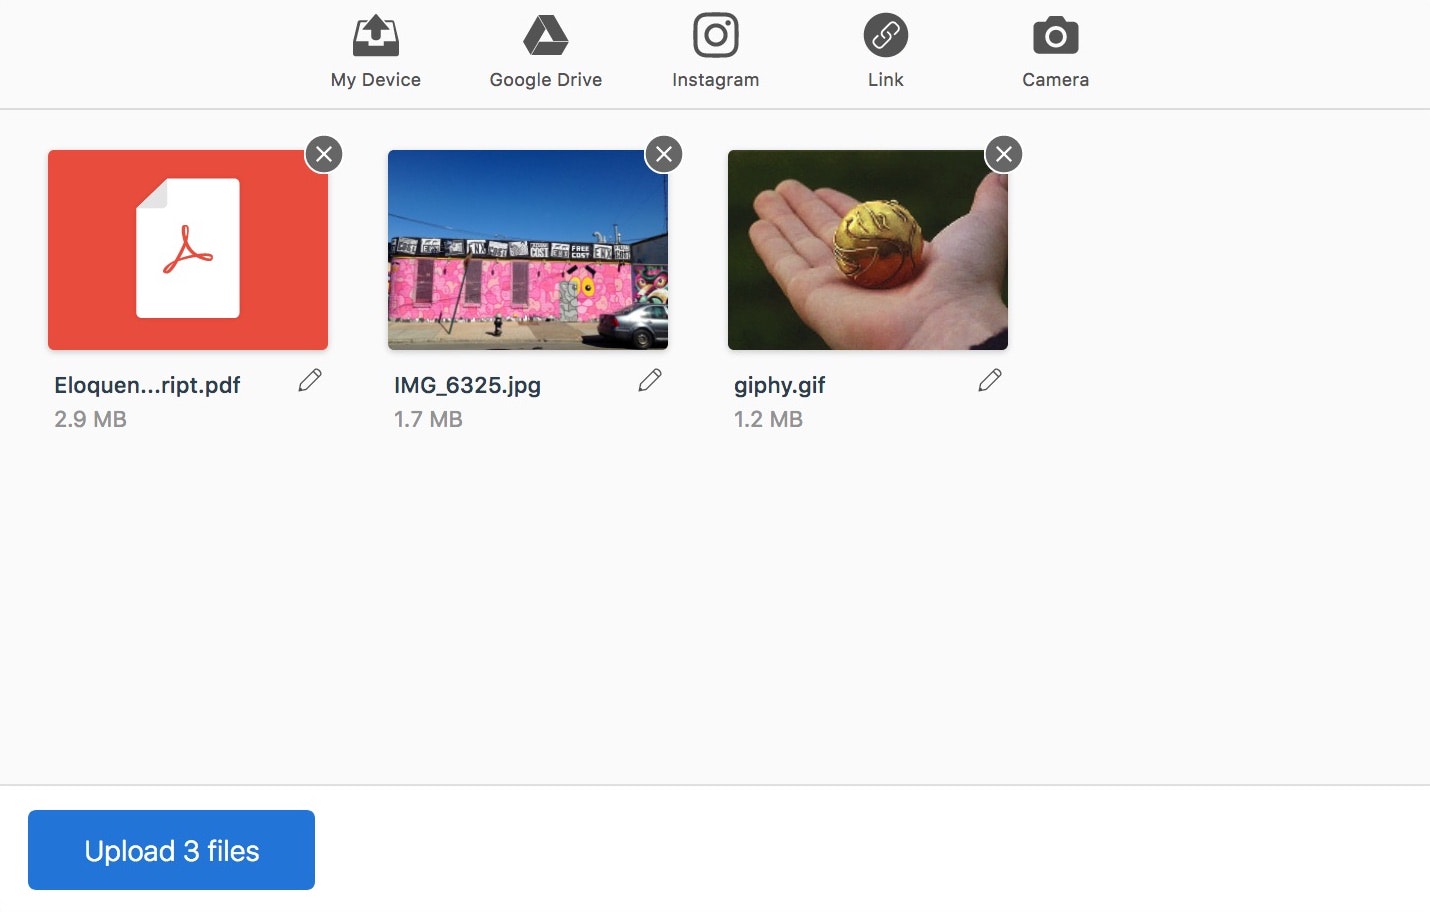
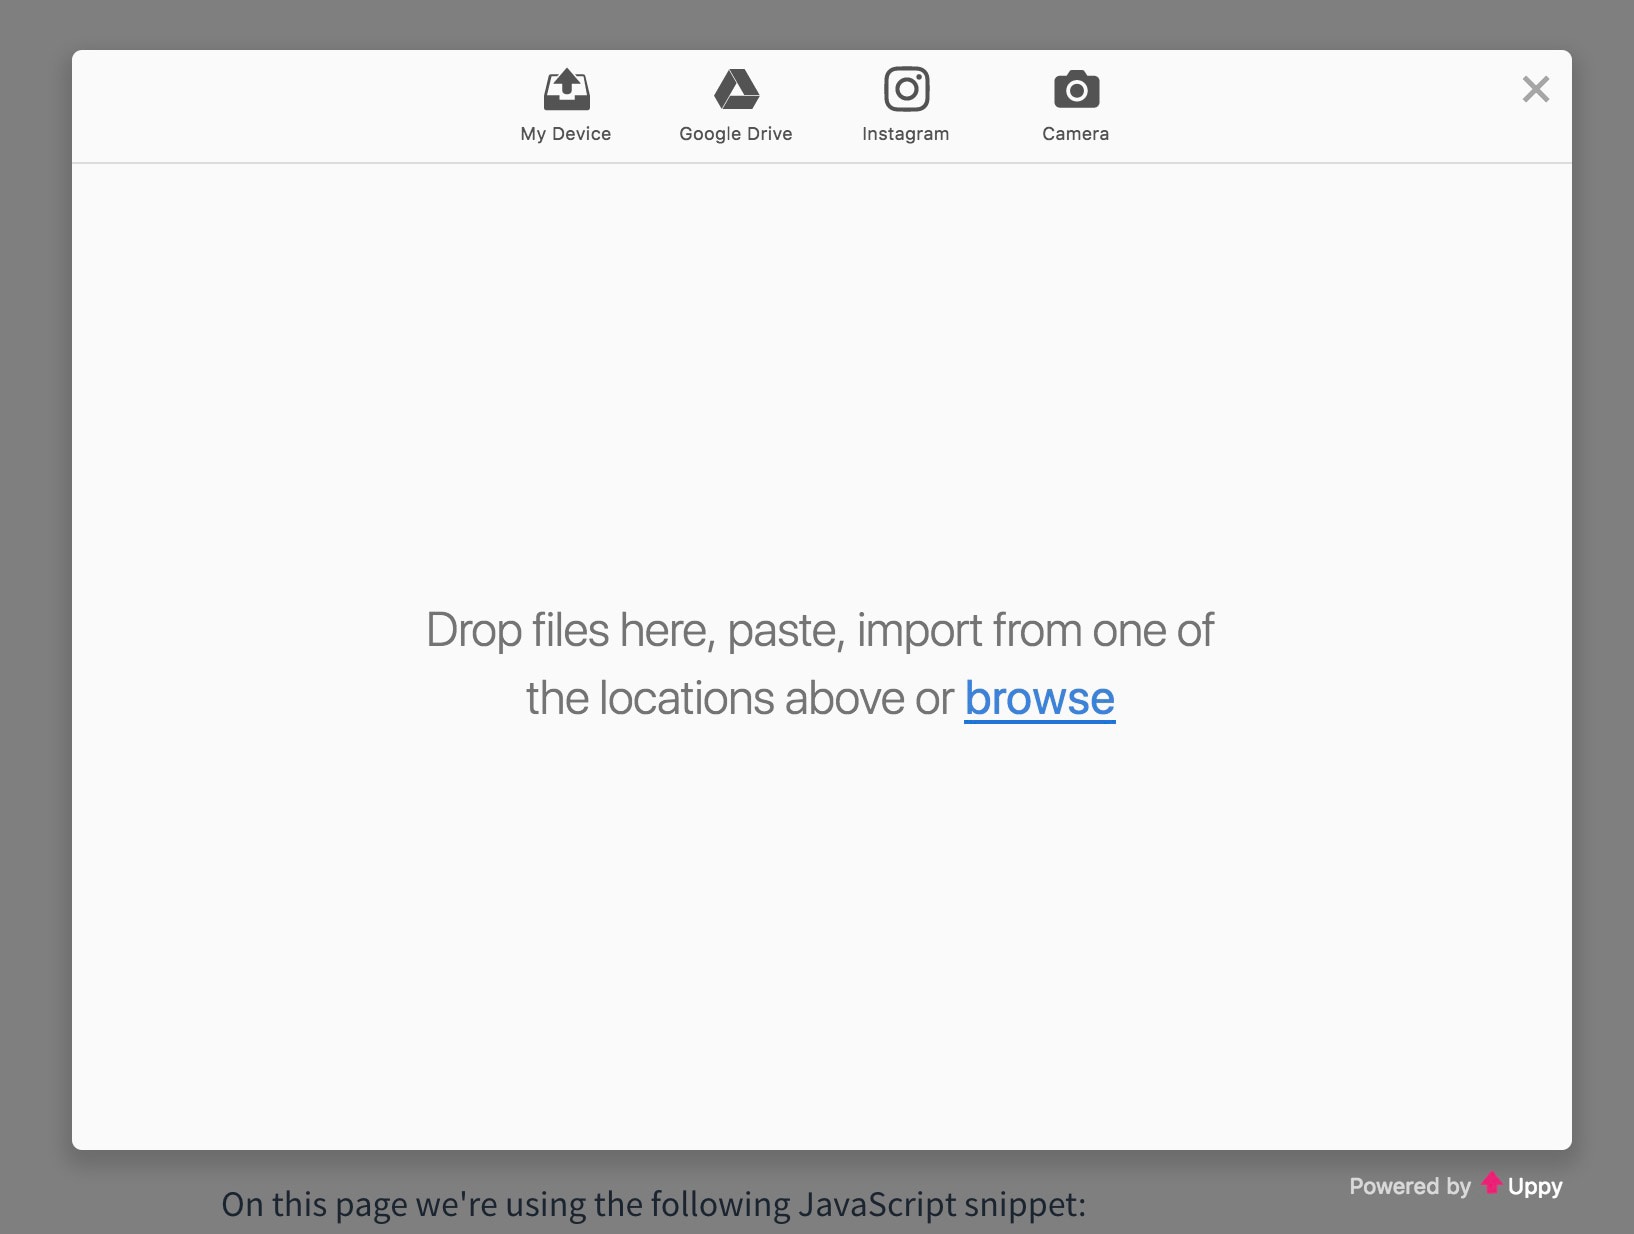
As always, we are trying to simplify and improve the UI of Uppy plugins. In this release, Dashboard’s design has been refreshed, check this out:
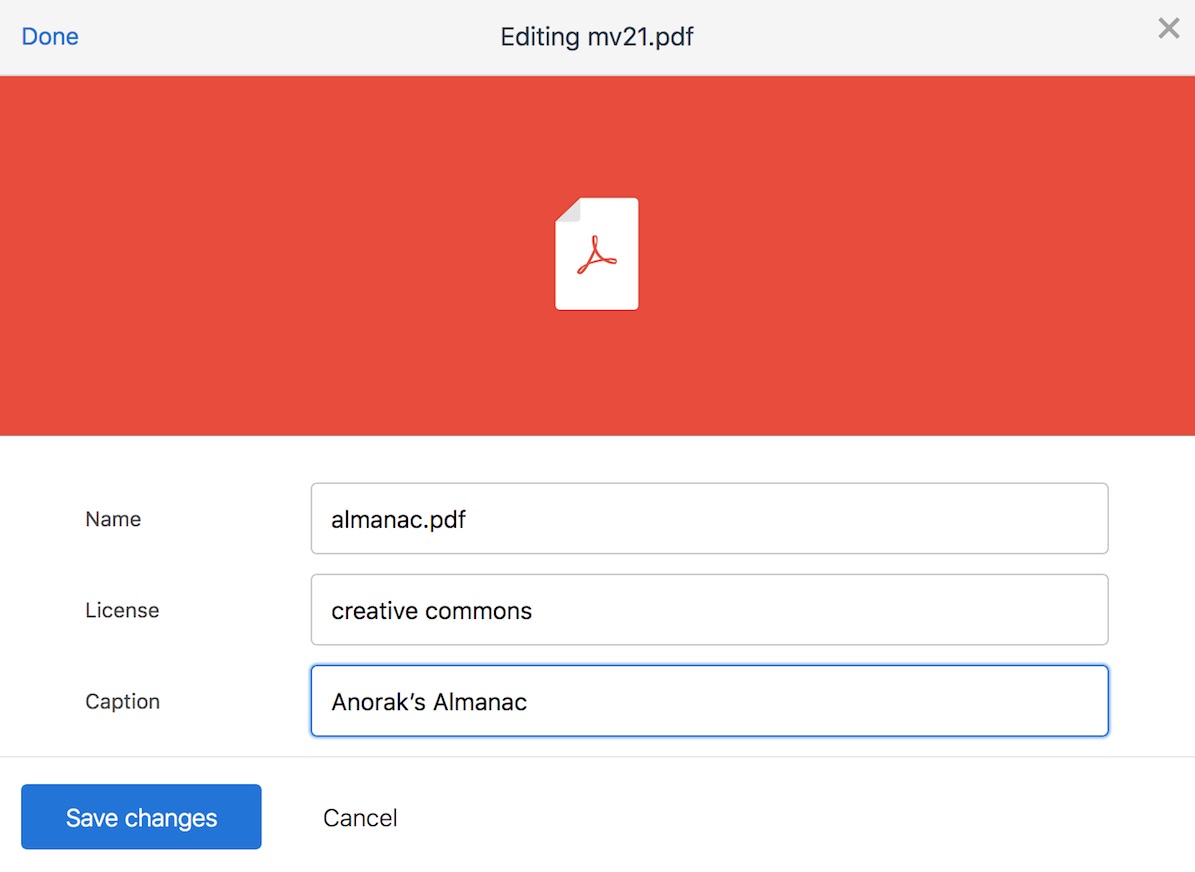
Meta editing screen:
Camera screen:

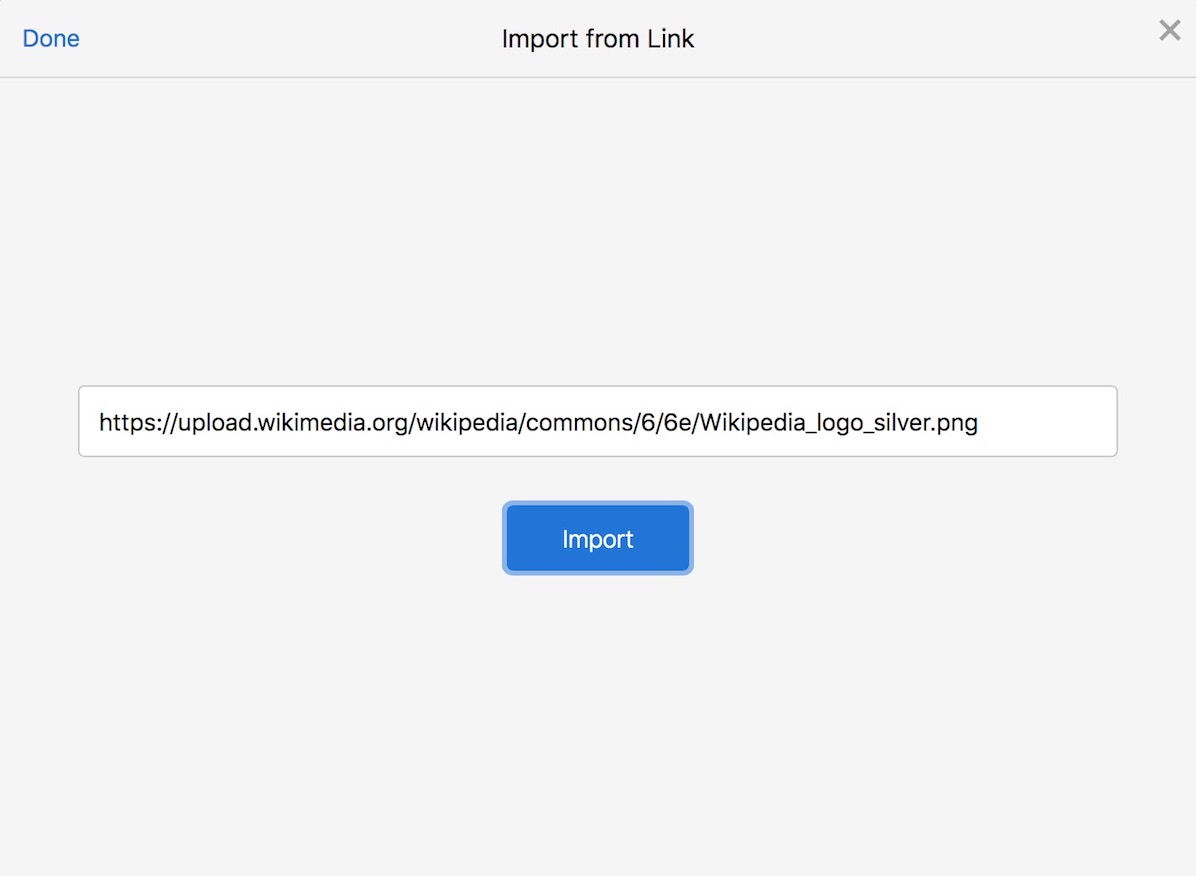
Import from URL (Link):
And more, check out the Dashboard example page.
A Cleaner StatusBar
The StatusBar plugin used to show a lot of progress details. This has been simplified so that by default it will only show a percentage:

But there’s an option showProgressDetails: true for both the StatusBar and
Dashboard (which passes it to StatusBar included in the Dashboard) to bring back
this detailed information, spread over two lines:

uppy.use(StatusBar, { ..., showProgressDetails: true })

// or

uppy.use(Dashboard, { ..., showProgressDetails: true })
We’ve also added a handy “cancel” button, which will cancel everything in progress regardless of the type of the upload (wether uppy-server or local powered, and wether tus-resumable or old school XHR/form uploads).
XHR Response Handling
When the upload completes (regardless of whether it succeeded), a response key
gets added to the file. file.response contains a status and data
properties. data is the result of the getResponseData() option. The
getResponseData() function's signature is now:
getResponseData (responseText, response) { }
This is what the default JSON parsing implementation looks like in the
XHRUpload plugin, but you can override it with your own:
getResponseData (responseText, response) {
  let parsedResponse = {}
  try {
    parsedResponse = JSON.parse(responseText)
  } catch (err) {
    console.log(err)
  }

  return parsedResponse
}
The responseText is the XHR endpoint response as a string. For uploads from
the user's device, response is the
XMLHttpRequest
object.
When uploading files from remote providers such as Dropbox or Instagram, Uppy
Server sends upload response data to the client. This is made available in the
getResponseData() option as well. The response object from Uppy Server
contains some properties named after their
XMLHttpRequest
counterparts:
response.responseText- the XHR endpoint response as a string;response.status- the HTTP status code;response.statusText- the HTTP status text;response.headers- an object mapping lowercase header names to their values.
Powered by Uppy
Uppy is provided free for the world forever. In return, we ask that you consider keeping a tiny tasteful Uppy logo at the bottom of the Dashboard, so that more people can discover and enjoy Uppy. This really helps to grow our community which will result in more issues reported, more contributors, more features requested, more PRs merged, and a better Uppy for you to use tomorrow, for free, forever.
If you don't want to do this indefinitely, consider doing this initially, just to help us reach critical mass and get our perpetuum mobile going.
But, Uppy is also free as in freedom. And so if you can't help our cause, set
proudlyDisplayPoweredByUppy to false to hide te Uppy logo.
Server News
We occasionally get questions about the required servers for Uppy. Uppy does not require special servers. You can use Uppy for free in the browser and let it upload to your existing Apache/Nginx server. Sprinkle a few lines of HTML/JS and that's it.
If you want integration with Instagram Dropbox and friends, you'll need to run an 'Uppy Server' in the datacenter to help with OAuth secrecy and fetching large files and uploading those, bypassing the client. No fun to have several gigabytes pass through your mobile tubes - best let the datacenters sort this out among themselves. That's what Uppy Server is for.
If you want resumable uploads, you'll need a https://tus.io/ speaking server.
You can run these optional servers yourself, or use the hosted variants provided by our company Transloadit for 💸. Transloadit also adds a wide range of encoding/processing features.
Now that that's sorted out, let's see what we improved on the Uppy Server side! We tackled a number of security issues:
- Fixed security vulnerability in transient dependency #70
- Auto-generate tmp download file name to avoid Path traversal
- Namespace redis key storage/lookup to avoid collisions
- Validate callback redirect url after completing OAuth
- Reduce the permission level required by Google Drive
Other non-security improvements are:
- Auto-generate Server secret if none is provided on startup
- We implemented a more standard logger for Uppy Server
- Added an example project to run Uppy Server on Serverless, see.
Docs
- Uppy Server docs now point to a detailed write-up on how to run Uppy Server on Kubernetes (#706 / @kiloreux)
- An Uppy Server custom provider example has been added, so now it’s easier create your own custom providers.
- Added more useful events, i18n strings, fixed typos, and other polish.
Other Fixes & Improvements
- ⚠️ breaking
addFile(),onBeforeFileAdded()andonBeforeUpload()are now synchronous and have to return nothing or file objects to proceed, or false to abort; please check out the update docs for details: onBeforeFileAdded() and onBeforeUpload(). - ⚠️ breaking Most events now emit the whole
fileobject instead of afileId. So you can accessfile.nameright away, for example, so you no longer have to fish for the file using its id. - ⚠️ breaking We’ve added
postcss-safe-importantto our style build step, so now 90% of rules got!importantdeclaration added to them. This is done to prevent page styles (especially global ones like from Bootstrap) from leaking into the Uppy widget. There are other solutions we are looking into, like iFrames and WebComponents, this is an experiment. Keep in mind that to override Uppy styles, you now have to also use!important. - dashboard: ⚠️ breaking
maxWidth,maxHeightoptions have been converted towidthandheight, because this makes more sense,maxWidthandmaxHeightare actually100%. - There is now an option
showLinkToFileUploadResult: falseto disable linking to the upload result in Dashboard UI. - We are now using the image time and date as a file name in Instagram, instead of a generic file id.
- The URL plugin now checks for HTTP(S) protocol, and adds HTTP by default if no protocol is present.
- It’s now possible to override
<DashboardModal />React component’s target prop. - Provider views now have
showFilterandshowBreadcrumbsoptions, those arefalsefor the Instagram plugin, for example. - Uppy Server to Client communication has been refactored into
ProviderandRequestmodules.Requestcan be used when a simple request needs to be made to Uppy Server, like in the URL plugin.Provideris used for more complex implementations shared between Google Drive and Instagram, for example.
Finally, we’ve added a Transloadit example to the website, check it out.
Have fun,
The Uppy Team